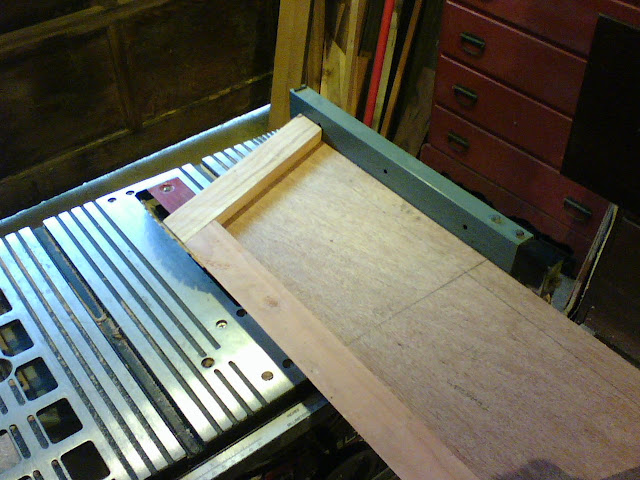
Today started off with fixing the transom frame that cracked yesterday as I was trying to bend the chine into place.
 |
| cracked frame on transom. |
The frame was made of pine and I replaced it with fir, which is what the port sided frame is made of. Once I got this new piece cut and temporarily fastened I took it apart and glued up the transom.
 |
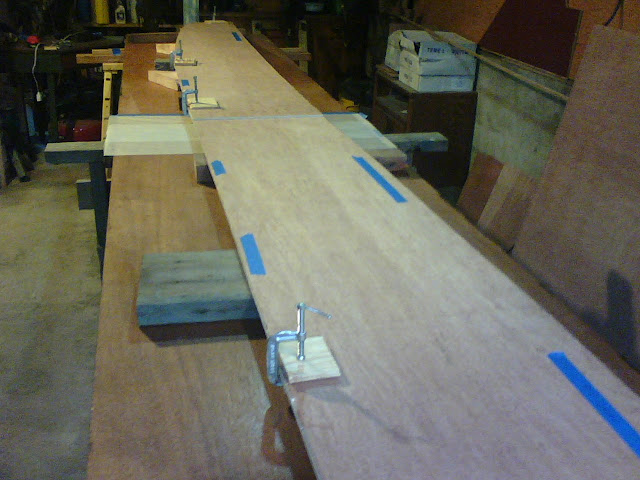
| Heavy weight on transom as glue sets. |
I have still not done anything about the transom not fitting properly to the side panels. I remeasured everything and found out what the mistake really was. It seems that when I measured the side panels I left out a 7/8" measurement from the edge of the plywood sheet. I even did it on both panels, P&S. This makes the stern rise sharper than it is suppose to and might make getting the chine to fit a bit more challenging, as I am not going to get new plywood and make new side panels.
 |
The side panel at the stern where it was cut out from the 4x8 sheet.
The lowest line is what I should have marked.
The line above it is almost an inch to high and the rise of the stern is much
sharper as a result. |
If I have to wet and steam the chines a bit to get them to take the sharper rise then that is what I will do. Once when I put new toe rails on my cruising sailboat I just lashed the new and much beefier teak toe rails to the stanchions and waited a month or two as I did other projects and as the weather did its work to get the wood to take the shape. When I went to get the final and stronger curve, the wood didn't have to bend as far because most it was almost there. I have the chine clamped in place to get it to learn it's new shape.
While looking at the way the hull was not really making a fair curve I realized I needed to back off the screws in the side that attached them to the stations. I took a screwdriver to every screw and backed them off them tightened until the sides just touched the station.
 |
| adjusting the fasteners on the side so they don't squeeze the sides out of shape |
When I stepped back and looked at the lines they were much, much better. The chines should pull them right into a nice shape.
I found an entry on 'Duckworks' from '09' that had this picture.
 |
Jeff Edwards QT skiff with sailing rig added.
Nice paint and finish.
Nice sail. |
The owner/builder, Jeff Edwards took a QT and added a sailing rig to it. He said it was 'tippy' and that he didn't make good progress to windward. I wonder if he got the placement of the sail and leeboard right. It looks as though the halyard for the main could move forward a bit and that might maybe move the center of effort of the sail aft and help with his windward sailing. He might also put a set of reefs, or two, in the sail to be able to reduce the area, lower the yard and decrease the lever on the boat so it is less tippy. Maybe?
I do really like the way this boat is finished. The wide hull with the bright chines, gunwale, stem, interior and decks. He also added the fore and aft compartments but the aft compartment has a camber to the deck. Very nice. It also could be easily added to my boat as I have to much transom, or to little side planks, so I can put a curve and bevel in the part of the transom that is above the hull line and make a bulkhead that also is taller than the side.
I read in John Gardner's "Building Classic Small Craft" that he really doesn't approve of brass fasteners in small boats where the cost of bronze is so little above brass given so few pieces are needed. I have to say he makes sense and I am inclined to get some bronze screws for the boat. I think the marina store might have some, if not there is mail order, or online from Jamestown Dist.
I do like the look of this QT with the sailing rig, but I want my boat to row well and the lee board set up might hamper that. Maybe just a down wind rig eventually, maybe.


