Sometimes I just miss being on the water
Saturday, December 10, 2011

Thursday, December 8, 2011
While the glue cures
Transom got glued onto the side panels today. It is cold out so the plastic tarp and oil heater are helping out.
While the curing was taking place I decided to plane the chines forward of station 4, as per instructions.
The starboard chine was much more in need of shaping than the port???? I used a straight edge to site across the bottom of the sides and the chines and planed until I got a good landing for the bottom.
In sizing up the chines to the bow stem it sure seems that the angle of the stem is a touch to wide. The stem matches the plans so I am hoping that if I attach the chines beginning at the stem and then use the length as a lever I can make it go. Still, I might just steam the chines before I start at the bow. I figure I could wrap towels soaked in boiling water around the ends for a while and then start the process of attaching them. I know I will be doing this for the stern section of the chines.
I put some clamps on the end of the chines (they are cut long) and poured some cold water on them to soften them a little and then use a spanish windlass to pull them in a bit while the boat sits overnight. The photo is dark because as I was working the power went out again. It has been very windy the past 12 hours or so. Don't need much power when working on a small boat like this and using mostly hand tools. A bit of light could help though.
While the curing was taking place I decided to plane the chines forward of station 4, as per instructions.
 |
| block plane & square to work chines into shape |
 |
| the bevel for the stem checks out to be 30 degrees, as drawn but seems to large an angle for the chines to make. |
 |
| spanish windlass to convince the chines of where I'd like them to be. |
Wednesday, December 7, 2011
Learning to adapt
 |
| This skiff seems to have a slight camber to the aft deck! |
I then took a batten and drew a fair curve from the highest point of the transom, on it's center line and then out to the marked new edge where it needed to be reduced to meet up with the side.
Then I drew a line on the inside face of the transom frame that would make the new angle where the deck would meet the side and the transom.
Then I worked the transom down to the new shape using two different methods for the sake of learning and practice.
 |
| working new shape for transom |
The first method I used was to cut down to the line with a lot of small saw cuts. Then chip out the cuts and, or, cut horizontally each little chip with the saw, starting from the outer edge.
The second method, and the better one to use was to just plan down the new shape, first with a jack plane then a smaller block plane, and around the few knots using the sureform and a saw.
In the end the planed side came out much nicer and the sawed side was kind of rough as some of the chips went a bit to deep beyond the new line.
Over all it was a good bit of learning.
I also cut a false stem to improve the blunt bow, in my opinion.
I found these on the web the other day. Very nice looking boat!
I found these on the web the other day. Very nice looking boat!
 |
| A bit long for me, but.....It had two swinging keels, one under each sail. |
 |
| I think it was called "Egret" and don't know if that is the name of the boat or design. |
Monday, December 5, 2011
repair, already?
Today started off with fixing the transom frame that cracked yesterday as I was trying to bend the chine into place.
The frame was made of pine and I replaced it with fir, which is what the port sided frame is made of. Once I got this new piece cut and temporarily fastened I took it apart and glued up the transom.
I have still not done anything about the transom not fitting properly to the side panels. I remeasured everything and found out what the mistake really was. It seems that when I measured the side panels I left out a 7/8" measurement from the edge of the plywood sheet. I even did it on both panels, P&S. This makes the stern rise sharper than it is suppose to and might make getting the chine to fit a bit more challenging, as I am not going to get new plywood and make new side panels.
If I have to wet and steam the chines a bit to get them to take the sharper rise then that is what I will do. Once when I put new toe rails on my cruising sailboat I just lashed the new and much beefier teak toe rails to the stanchions and waited a month or two as I did other projects and as the weather did its work to get the wood to take the shape. When I went to get the final and stronger curve, the wood didn't have to bend as far because most it was almost there. I have the chine clamped in place to get it to learn it's new shape.
While looking at the way the hull was not really making a fair curve I realized I needed to back off the screws in the side that attached them to the stations. I took a screwdriver to every screw and backed them off them tightened until the sides just touched the station.
When I stepped back and looked at the lines they were much, much better. The chines should pull them right into a nice shape.
I found an entry on 'Duckworks' from '09' that had this picture.
The owner/builder, Jeff Edwards took a QT and added a sailing rig to it. He said it was 'tippy' and that he didn't make good progress to windward. I wonder if he got the placement of the sail and leeboard right. It looks as though the halyard for the main could move forward a bit and that might maybe move the center of effort of the sail aft and help with his windward sailing. He might also put a set of reefs, or two, in the sail to be able to reduce the area, lower the yard and decrease the lever on the boat so it is less tippy. Maybe?
I do really like the way this boat is finished. The wide hull with the bright chines, gunwale, stem, interior and decks. He also added the fore and aft compartments but the aft compartment has a camber to the deck. Very nice. It also could be easily added to my boat as I have to much transom, or to little side planks, so I can put a curve and bevel in the part of the transom that is above the hull line and make a bulkhead that also is taller than the side.
I read in John Gardner's "Building Classic Small Craft" that he really doesn't approve of brass fasteners in small boats where the cost of bronze is so little above brass given so few pieces are needed. I have to say he makes sense and I am inclined to get some bronze screws for the boat. I think the marina store might have some, if not there is mail order, or online from Jamestown Dist.
I do like the look of this QT with the sailing rig, but I want my boat to row well and the lee board set up might hamper that. Maybe just a down wind rig eventually, maybe.
 |
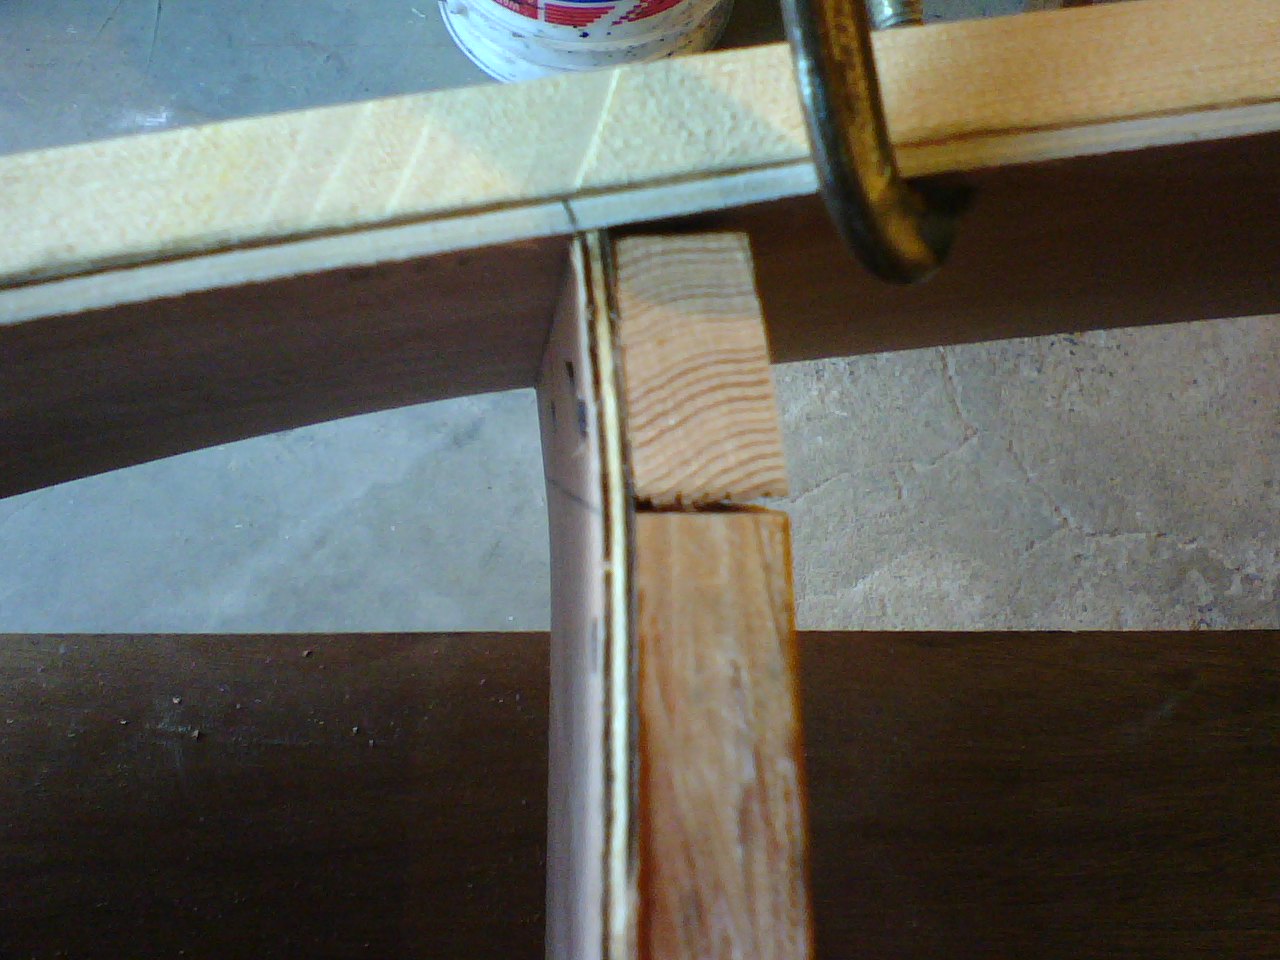
| cracked frame on transom. |
 |
| Heavy weight on transom as glue sets. |
 |
| The side panel at the stern where it was cut out from the 4x8 sheet. The lowest line is what I should have marked. The line above it is almost an inch to high and the rise of the stern is much sharper as a result. |
While looking at the way the hull was not really making a fair curve I realized I needed to back off the screws in the side that attached them to the stations. I took a screwdriver to every screw and backed them off them tightened until the sides just touched the station.
 |
| adjusting the fasteners on the side so they don't squeeze the sides out of shape |
I found an entry on 'Duckworks' from '09' that had this picture.
 |
| Jeff Edwards QT skiff with sailing rig added. Nice paint and finish. Nice sail. |
I do really like the way this boat is finished. The wide hull with the bright chines, gunwale, stem, interior and decks. He also added the fore and aft compartments but the aft compartment has a camber to the deck. Very nice. It also could be easily added to my boat as I have to much transom, or to little side planks, so I can put a curve and bevel in the part of the transom that is above the hull line and make a bulkhead that also is taller than the side.
I read in John Gardner's "Building Classic Small Craft" that he really doesn't approve of brass fasteners in small boats where the cost of bronze is so little above brass given so few pieces are needed. I have to say he makes sense and I am inclined to get some bronze screws for the boat. I think the marina store might have some, if not there is mail order, or online from Jamestown Dist.
I do like the look of this QT with the sailing rig, but I want my boat to row well and the lee board set up might hamper that. Maybe just a down wind rig eventually, maybe.
Sunday, December 4, 2011
Take whats offered
The first order of business today was to get the saw horses free from under the boat table so that I could use them with the table saw, and so that I could get the table to a lower height.
 |
| Boat table (closet doors) with 18" legs |
So, remember the 15 foot long plank of wood I found in the river and brought home? It has been milled and made the chines and both laminations of the gunwales. Thank you Hudson River.
 |
| One found plank becomes 6 pieces of chine and gunwale. |
I wasn't sure if it would actually work since the amount I needed was close to what it's dimension were and that didn't include loss from saw cuts. I was also worried about it not being clear wood. I cut the bevels on 4 of the pieces(chines and first layer of gunwale) using the table saw set on the 23 degree angle as per the plans. I realize now that the plans call for the finished pieces to be 3/4" x 1 1/4 ", and I left them at 1 /1/2" of the found wood. I think I will try and bend them at that size.
I left the last two pieces for the outer gunwale layer that I found 2 screws in with a scream and sparks from the table saw. I removed the temporary battens that I had on the chine and I clamped the new and beveled chines on to see how they'd do with the shape. No breaks or cracks so far.
 |
| Beveled chines clamped in place to get them familiar with their new shape. |
 |
| station flexing slightly! Notice the gap between the side cleat and the bottom one. |
I did notice that some of the station molds had suffered a little. Maybe it's because of the thin plywood or maybe I just didn't use enough fasteners but some of them were flexing a little where the side cleat meets the bottom cleat. I added some fasteners to help it out. I could just add a cleat to the other side of the station to back it up. It may not be necessary.
 |
| Brass brads as clinch nails on scarf. |
I got out a 6lb. sledge and a peen hammer and the escutcheon nails and put in fasteners on the scarf on the side planks. I don't know if they are necessary or if they help at all, but it was fun to clinch them over, working as I have seen pictures of real boat builders do on really nice boats.
 |
| glue joint on scarf with fasteners. The glue is pretty smooth and need little sanding. |
The glue joint seems really good and filled by the Gorilla glue. I am not sure how it will hold up so the fasteners are a back up.
I only worked for a few hours and most of that was cutting the new legs for the work table and getting that all set up. I am very happy about the found wood working for the boat as it was just what I needed. I believe it is a pine, at least it smell like it's pine. I am enjoying looking at the lines of the boat as they start to take shape. It is strange how my fondness is growing for this little boat as each step of the construction reveals something that is a little more like a boat, and boats have been so good to me. I hope that this one and I will get on as well as I have with my other boats.
 |
I guess that it is time to glue and fasten the chines.
Friday, December 2, 2011
Taking shape
Getting the transom to the right shape was a little interesting. I cut the side pieces long and wide then put the bevel on the sides to measurements. I then attached them and the bottom piece and cut the length wise bevel all at one pass. After that I attached the top piece.
 |
| cutting bottom bevel on transom. |
I ended up with a very nicely put together piece, even if temporary. I will take it apart and glue it all up and re-fasten it.
 |
| transom with bevels. |
 |
| 1inch to tall transom. You can see the centerline mark on the table that I use to line up the stations so that it will sit in true shape until I get back to work on it. |
 |
| A boat shape begins |
The bow is the hardest part to get together. I am thinking of adding an external stem.
 |
| stem temporarily attached. Cut long and will be trimmed later. I think I want it to stand proud and put a painter thru it. |
 |
| temporary chines clamped on. |
I like the lines of the boat now that I can see them. I was afraid it might be to boxy looking but it really isn't. It kind of looks lean and as if it will row quite well.
I have yet to mill the chines and the gunwales. During a row on the river last week I found a 2x6 that I towed home for some reason. Today I measured it and it is 15' long. I will try to mill it to get at least some of the pieces I need from it.
 |
| Found wood 15'x6"x2" that will become the chines and hopefully the gunwales. For now it's a bench for a dog. |
It is a pretty good feeling to see the shape of the boat up there on the stands. I have to leave it for a few days but that is probably best anyway.
I am still undecided about getting thicker plywood for the bottom. I'm worried about stepping thru the thinner stuff.
The scarfs seem to be pretty strong.
Thursday, December 1, 2011
Stations framed
Today I got the frames for the stations all cut out as well as the stem and transom.
 |
| Stations with framing. A good view of my closet door boat building frame. |
I eventually got all the frames attached to the stations, but am waiting to do the transom since it needs to be glued as well.
I have decided that I will put the bulkheads in after I get the side panels shaped. I hope to use the stations #4 and #10 for the bulkheads. I will have to figure out the bevel on the edges where they meet the sides. I am adding a vertical piece on the transom and the bulkheads to help with the weight of the deck or anyone leaning on it.
Subscribe to:
Posts (Atom)